By El Ghali Bennis · Published
How to Start Selling Online From a Physical Store
Learn how to start selling online from a physical store with a 7-step checklist for inventory sync, payments, shipping, pickup and launch.

To start selling online from a physical store, pick an ecommerce platform, load your best-selling products with photos and prices, connect a payment processor, sync stock between the shop and the website, set up shipping and local pickup, then launch to your existing customers first. A focused catalog can go live in days, not months.

You already have the hard part: a location, suppliers, regulars who trust you. Moving brick and mortar to ecommerce is mostly a matter of order and discipline. This checklist walks you through each step, in the sequence that avoids the usual mistakes: overselling stock, drowning in shipping, or building a site nobody visits.
Is It Worth Selling Online From Your Physical Store?
Yes, for most local retailers, because online adds a second sales channel on top of the rent you already pay. Your shop stays open to people who can't visit during hours, live across town, or want to buy a gift from their couch.
The market backs this up. The U.S. Census Bureau's quarterly retail ecommerce report tracks online sales as a share of total U.S. retail, and that share has stayed well above pre-2020 levels. Shoppers don't separate "online" and "in-store" anymore. They check your website, then walk in. Or the reverse.
Here's what changes when you add an online store to an existing business:
- Reach: customers beyond your walking radius, including tourists who want to reorder after they leave.
- Hours: orders arrive at 11 p.m. on a Sunday while you sleep.
- Data: you finally see what people search for, what they abandon in the cart, and who buys twice.
- Resilience: a bad weather week or road closure no longer zeroes out your revenue.
Be honest about the downsides too. You'll handle packing, returns and customer emails. If your margins are thin on heavy or fragile goods, start with local delivery and pickup only. Our guide to an online store with local delivery covers that model in detail.
How to Start Selling Online From a Physical Store: The Checklist
The fastest route is a seven-step sequence: define your online range, choose a platform, build the catalog, connect payments, sync inventory, set up fulfillment, and launch. Here's the take my shop online step by step version.
Step 1: Decide what you'll sell online
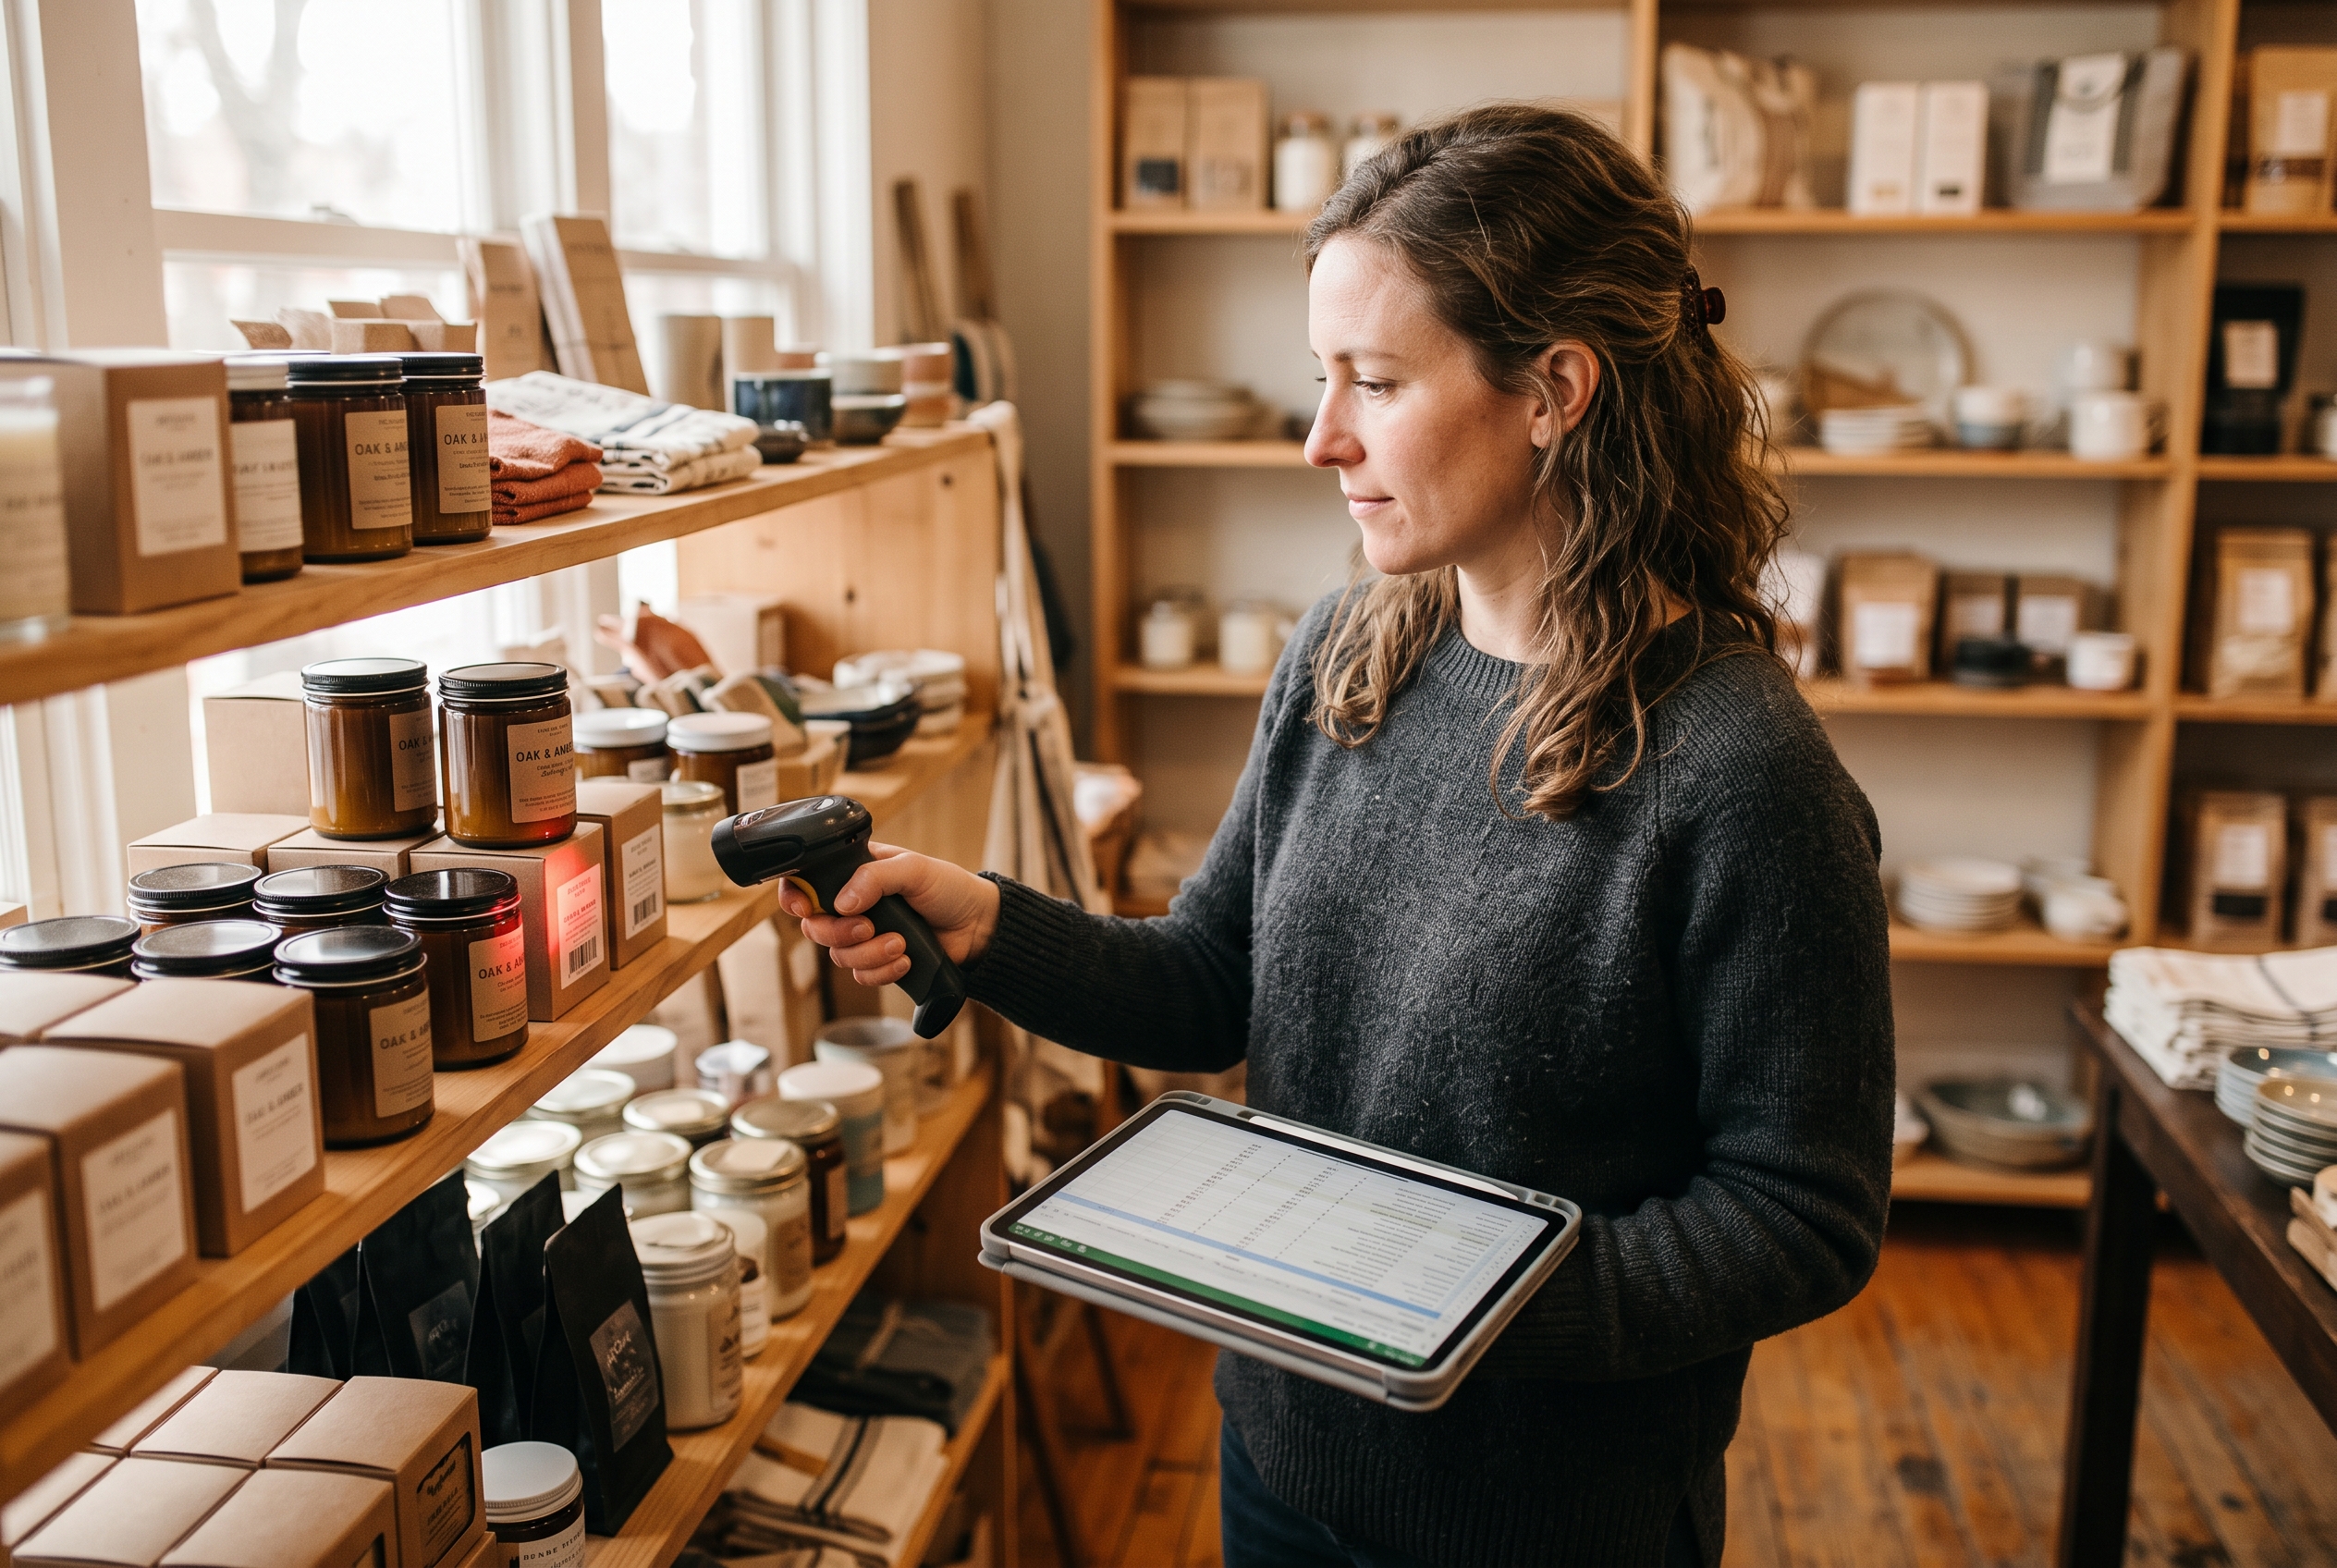
You don't need to list everything. Start with 20 to 100 products: your best sellers, items with good margins, and anything small enough to ship cheaply. Skip fragile, perishable, or low-price items where shipping eats the profit.
Pull your last 12 months of point-of-sale data. Sort by units sold and by gross margin. The overlap is your starter catalog.
Step 2: Choose a platform that fits a local retailer
A local retailer ecommerce website needs four things: easy product management, checkout, inventory control and local fulfillment options. Check each option's real monthly cost, not just the headline plan. Shopify's pricing page lists plans starting at tens of dollars a month, but apps for abandoned cart recovery, reviews or loyalty are typically extra. WooCommerce is free software, but hosting, plugins and maintenance are on you.
Rovela takes a different approach: you describe your shop in plain words and it builds the storefront, catalog, Stripe checkout, admin dashboard, customer accounts and shipping tools, with 100+ features included in one flat subscription and no commission on sales. See Rovela's pricing to compare against your current stack. For a wider look at costs, read our cost to start an online store breakdown.
Step 3: Build your catalog the right way
Good product data sells. For each item, collect:
- A clear title using the words customers actually search for
- 3 to 5 photos on a clean background, plus one in-use shot
- Size, weight, materials and dimensions
- A short description that answers the question customers ask at the counter
- SKU and barcode, matching your in-store system
Shoot photos with natural light near a window. A phone is enough. Consistency matters more than gear.
Step 4: Connect payments and taxes
Stripe and PayPal cover most small retailers. Confirm your payout schedule and processing fees (Stripe's pricing page lists current rates). Then sort out the tax and legal basics before your first order:
- Sales tax: your existing seller's permit usually covers online sales in your home state, but shipping to other U.S. states can create tax obligations once you pass a state's economic nexus threshold. Many states use $100,000 in sales or 200 transactions as the trigger, so check each state's rules.
- Tax settings: make sure your platform charges the right rate for pickup (your local rate) versus shipped orders (the destination rate, in most states).
- Cross-border sales: check VAT or GST rules and import duties before your first international order, or simply limit shipping to your home country at first.
- Policies: publish a privacy policy, terms of sale, and shipping and return pages. Most platforms offer templates, but have them reviewed if you handle regulated goods such as food, cosmetics or alcohol.
Step 5: Sync in-store and online inventory
This is the step that breaks most local shops, so it gets its own section below.
Step 6: Set up shipping and pickup
Offer at least two options: flat-rate or calculated shipping, and free local pickup. Pickup costs you nothing and often brings customers through the door to add to their basket. If you're nearby, add local delivery for a small fee.
Step 7: Launch to people who already know you
Email your customer list, post in-store signage with a QR code, and add the web address to receipts and bags. Your first 50 orders will come from people who already like you. Use them to find problems before you spend on ads.
How Do You Sync In-Store and Online Inventory?
You sync in-store and online inventory by making one system the source of truth for stock counts, so every sale, in the shop or on the site, deducts from the same number. Without that, you'll sell the last item twice.
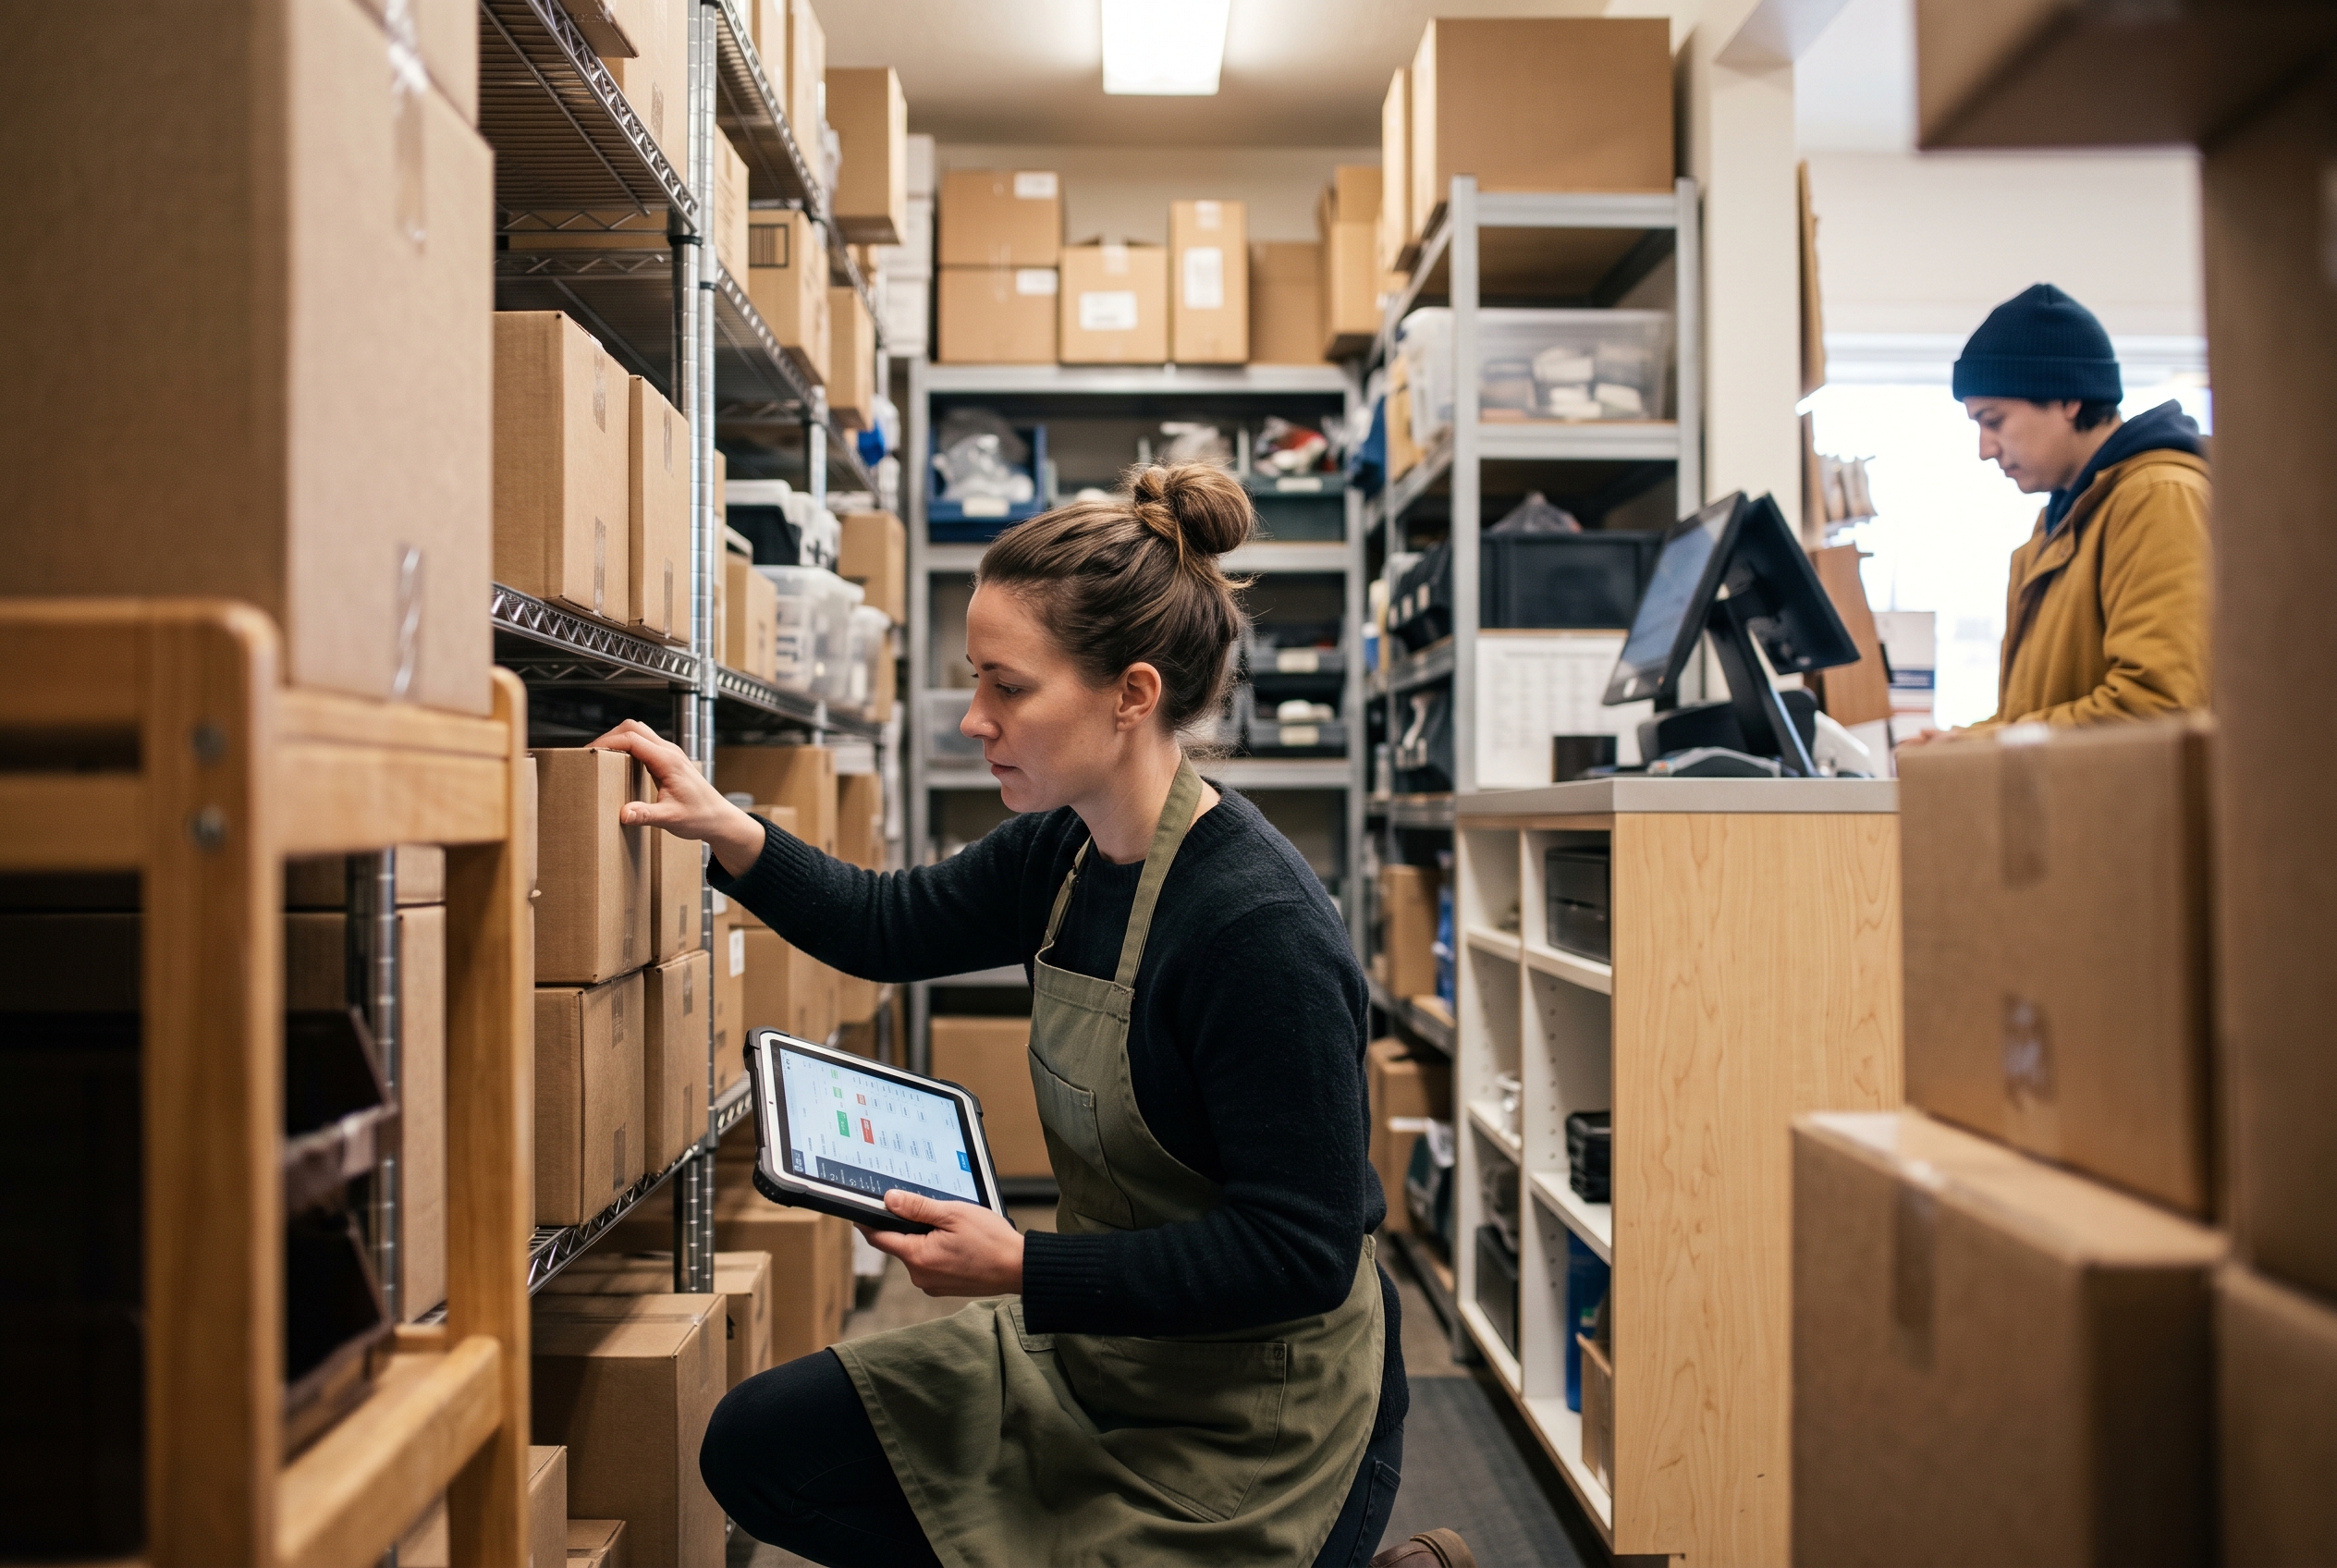
You have three realistic setups:
| Setup | How it works | Best for | Risk |
|---|---|---|---|
| Single system | Ring up in-store sales through the same platform as your website | Shops with under a few thousand SKUs | Needs compatible card reader or POS |
| POS-to-web integration | Your existing POS pushes stock counts to the online store | Shops tied to a POS they love | Sync delays and connector fees |
| Manual with buffer | You update counts by hand and hold back a safety stock online | Very small catalogs, first 30 days | Human error as volume grows |
What to check about your existing POS
Before choosing, ask your POS provider four questions: Does it have an open API or a native connector to your platform? How often does stock sync (real time or every 15 minutes or more)? Does it match products by SKU or barcode? What does the connector cost per month? If the answers are vague, a single system is usually cheaper and safer than patching two tools together. Also confirm that every product has a unique SKU first. Duplicate or missing SKUs are the most common cause of sync errors.
Whatever you choose, apply a safety buffer. If you have 5 units on the shelf, show 3 online. Walk-in customers are unpredictable, and a cancelled order costs you more in goodwill than a missed sale.
Rules that keep counts honest
- Receive stock into one system the same day it arrives.
- Run a cycle count on your top 20 products weekly.
- Log damaged, returned and display items immediately.
- Set low-stock alerts so you reorder before you hit zero.
- Mark items "in-store only" when you can't ship them.
Handled properly, shared stock turns into an advantage. You can show "3 left, pick up today" on product pages, which creates urgency honestly.
How to Start Online Ordering for Your Shop and Fulfill It
To start online ordering for your shop, enable checkout, define fulfillment methods (ship, pickup, local delivery), and assign one person to pick and pack at a fixed time each day. Predictable routine beats heroic effort.
Carve out a packing station near the back. Keep boxes, tape, labels and a scale in one place. Batch orders twice a day, say 10 a.m. and 3 p.m., so you aren't leaving customers at the counter to wrap parcels.
Shipping basics
Compare carriers by weight and zone. USPS, UPS, FedEx and local couriers each win on different parcels. Buy labels through your platform when possible to get discounted rates and automatic tracking emails. Weigh a sample of your top 10 products now, so you can quote shipping accurately.
Pickup and local delivery
Pickup works best with a clear promise: "Ready in 2 hours." Send an email when the order is ready, keep orders bagged and labeled by name, and set aside a shelf near the entrance. Local delivery needs a radius, a minimum order and set days. The setup guide linked earlier shows how to price it.
Returns
Write a plain return policy before launch and cover each of these points:
- Window: 14 to 30 days from delivery or pickup is typical for small retailers.
- Shipping cost: decide who pays return postage. Many shops refund the item but not the original shipping, unless the item was faulty.
- Condition: unworn, unused, with tags. List exceptions such as final-sale, custom or hygiene items.
- In-store returns of online orders: allow them. Customers get an instant refund, and you get a second chance to sell something else. Big online-only competitors can't match it.
- Restocking: returned items go back into the same inventory system the same day, so counts stay accurate.
Keep in mind that a "refund" and an "exchange" are different transactions in your system. Train staff to process in-store returns of web orders through the platform, not as a cash-drawer adjustment, or your stock and sales reports will drift apart.
How Do You Get Customers to Your Online Shop?
Start with the people already walking through your door, then add local search, email and social. Local retailers have a trust advantage, so use it before paying for traffic.
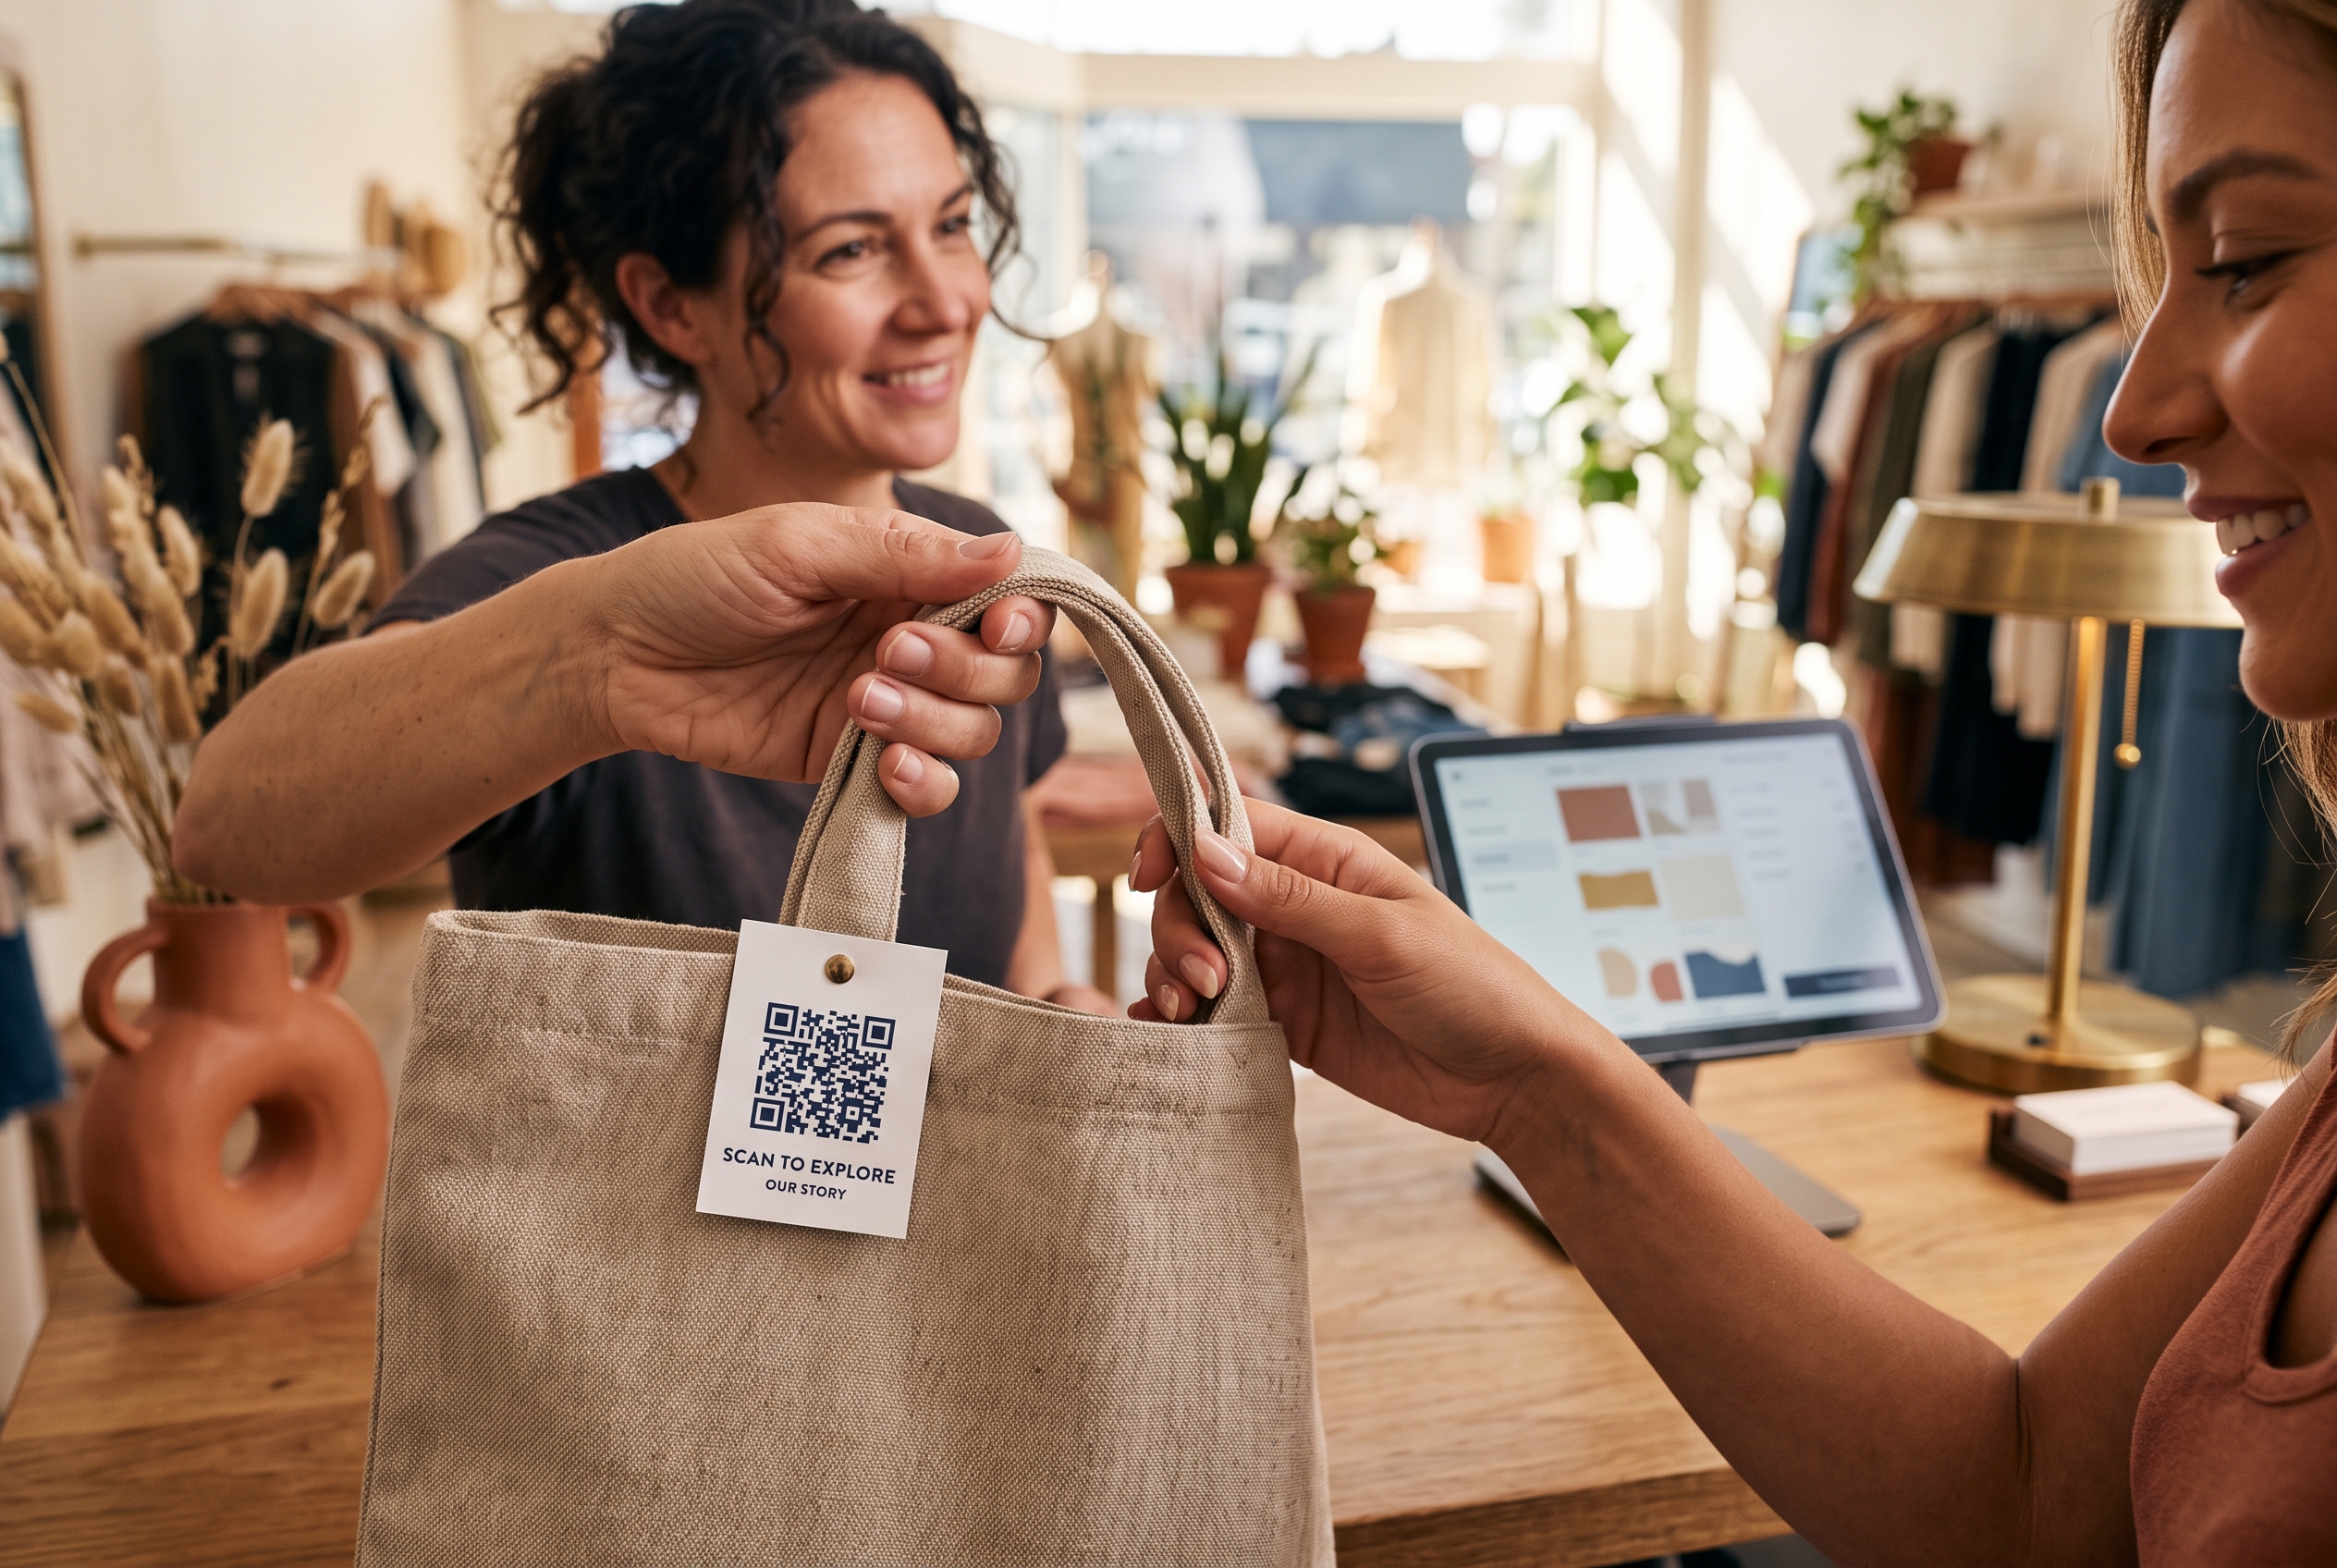
- In-store prompts: QR codes on counters, bags and receipts. Offer 10% off the first online order.
- Google Business Profile: link your website, add products, keep hours accurate. Google's Business Profile help pages explain how to do this.
- Email capture: ask for emails at the register. Send a short weekly note with new arrivals.
- Instagram and Facebook: show real shelves and real staff. Our guide to an online boutique on Instagram has a posting rhythm that works.
- Local SEO pages: write "[product] in [your city]" pages that describe pickup and delivery options.
Then think about retention. Abandoned cart emails, reviews and a simple loyalty program bring buyers back. On many platforms these are paid add-ons, while Rovela includes them by default, so compare the total cost of your current plan plus apps against a flat subscription.
Own website or marketplaces?
Marketplaces like Amazon and Etsy bring traffic, but they take fees and own the customer relationship. Many local shops use a marketplace as a side channel while building their own site. For the trade-offs, see own website vs marketplace selling.
A Worked Example: A Neighborhood Gift Shop Goes Online
Here's an illustrative scenario, with simplified numbers, to show how the steps fit together. Imagine a gift shop with 1,200 SKUs and about $30,000 in monthly walk-in sales.
- Range: the owner exports 12 months of POS data and picks 60 products: candles, cards, small ceramics and local food gifts that ship flat.
- Photos: two afternoons with a phone and a window-lit table produce four images per product.
- Inventory: the shop rings sales through the same platform as the website, and shows 2 fewer units online than on the shelf for anything with under 10 in stock.
- Fulfillment: free pickup, $6 flat-rate shipping, free shipping over $75, and local delivery within 5 miles on Thursdays.
- Launch: a QR code on every bag, an email to 800 past customers, and a Google Business Profile link.
A realistic first month might look like 40 to 60 orders, with more than half choosing pickup, and many pickup customers adding an item at the counter. The lesson is the pattern, not the exact figures: a small range, a safety buffer and pickup-first fulfillment keep the workload manageable while the owner learns what sells.
Common Mistakes When Moving From Brick and Mortar to Ecommerce
The biggest mistakes are listing too much, ignoring shipping costs, and treating the website as a side project. Each is avoidable with a bit of planning.
- Uploading the whole catalog on day one. You'll burn weeks on photos for items that never sell online. Launch with your top 50.
- Underpricing shipping. Test with real parcels. Build shipping into price or set a free-shipping threshold, such as $75, that lifts basket size.
- No inventory buffer. Oversells damage reviews quickly.
- Copying your shelf instead of your customer. Group products by how people shop (gifts, under $30, new arrivals), not by supplier.
- Stacking apps. Every plugin adds cost and slows pages. Shopify's app store lists thousands of add-ons, and it's easy to end up with six or more. Pick a platform with the basics built in.
- Skipping mobile testing. Most local shoppers will find you on a phone. Place a test order from yours before launch.
How long does it take, and what will it cost?
A small catalog can launch in a few days to two weeks, depending mostly on photos and descriptions. Costs range from a platform subscription and card fees to packing supplies. Our articles on how long it takes to start an ecommerce business and how to start an online store go further on timelines and sequencing.
Do you need a developer?
Not anymore. Modern builders let you set up the store by describing it. Rovela, for example, generates a complete store from a conversation and goes live in hours, and you can keep changing things by chatting rather than hiring someone. The store runs on standard Next.js code you can download, so you're never locked in.
Your First 30 Days Online: A Simple Plan
Treat the first month as a test. Aim for a small, clean launch, then improve weekly.
- Week 1: choose platform, pick 50 products, shoot photos, write descriptions.
- Week 2: connect payments, set shipping and pickup, sync inventory, place three test orders.
- Week 3: soft launch to your email list and best customers. Collect feedback at the counter.
- Week 4: fix friction, add 25 more products, begin Google Business Profile and social posts.
Track four numbers: orders per week, average order value, share of pickup versus shipped orders, and cart abandonment rate. If pickup is your majority, double down on local. If shipped orders have strong margins, expand the range.
Ready to Take Your Shop Online?
Selling online from a physical store comes down to a short list: a focused catalog, one source of truth for stock, simple shipping and pickup, and a launch aimed at the customers who already love your shop. Do those well and the rest follows.
If you'd rather skip the app-stacking and technical setup, Rovela builds your complete store from a plain-language description, with abandoned cart recovery, reviews, loyalty and Stripe checkout included. Start at rovela.ai and see your shop online in hours, not weeks.