July 7, 2026
How to Sell Food Online: A Complete Beginner's Guide
Learn how to sell food online the right way — from legal requirements and allergen labeling to shipping perishables and launching your store.

Figuring out how to sell food online can feel like standing in a kitchen with every burner going at once. You've got recipes people love, maybe a farmers-market following, and a hunch there's a real business here. But between food-safety rules, allergen labels, cold-chain shipping, and building a store that actually takes payments, the path from home cook to online seller isn't always obvious. This guide walks you through every step — the legal groundwork, the packaging, the logistics, and the storefront — so you can start selling food products online without guessing.

How to sell food online legally: permits, licenses, and rules
Before a single order ships, the legal side has to be solid. Selling edible products carries more regulation than most e-commerce categories because you're responsible for people's health. Getting this wrong can shut your business down fast, so treat it as step one, not an afterthought.
The exact rules depend on where you live, what you sell, and how it's made. Most sellers fall under one of three buckets: cottage food laws for home kitchens, commercial kitchen requirements for higher-risk products, or third-party manufacturing if you outsource production.
Cottage food laws and home-kitchen limits
In the United States, cottage food laws let you sell certain low-risk items — baked goods, jams, granola, dry mixes, candy — made in your home kitchen. These laws vary state by state, and most cap your annual revenue (often between $20,000 and $50,000) and restrict which products qualify. Perishables like fresh dairy, meat, and anything needing refrigeration usually don't.
Check your state's specific rules with your local health department before you list anything. The U.S. Food and Drug Administration oversees federal food-safety standards, but cottage food permits are handled at the state or county level.
When you need a commercial kitchen
Once you outgrow cottage limits or want to sell higher-risk foods, you'll need a licensed commercial kitchen. Options include renting time at a shared commissary kitchen, using a co-packer, or building your own certified space. You'll also likely need a business license, a food handler's certification, and sales-tax registration.
Here's a quick reference for common requirements when you start an online food business:
- Business registration — LLC or sole proprietorship, plus an EIN
- Food business license — issued by your local health authority
- Food handler / manager certification — for you and any staff
- Sales tax permit — food tax rules differ by state and product
- Product liability insurance — protects you if someone gets sick
Labeling, allergens, and packaging that keeps you compliant
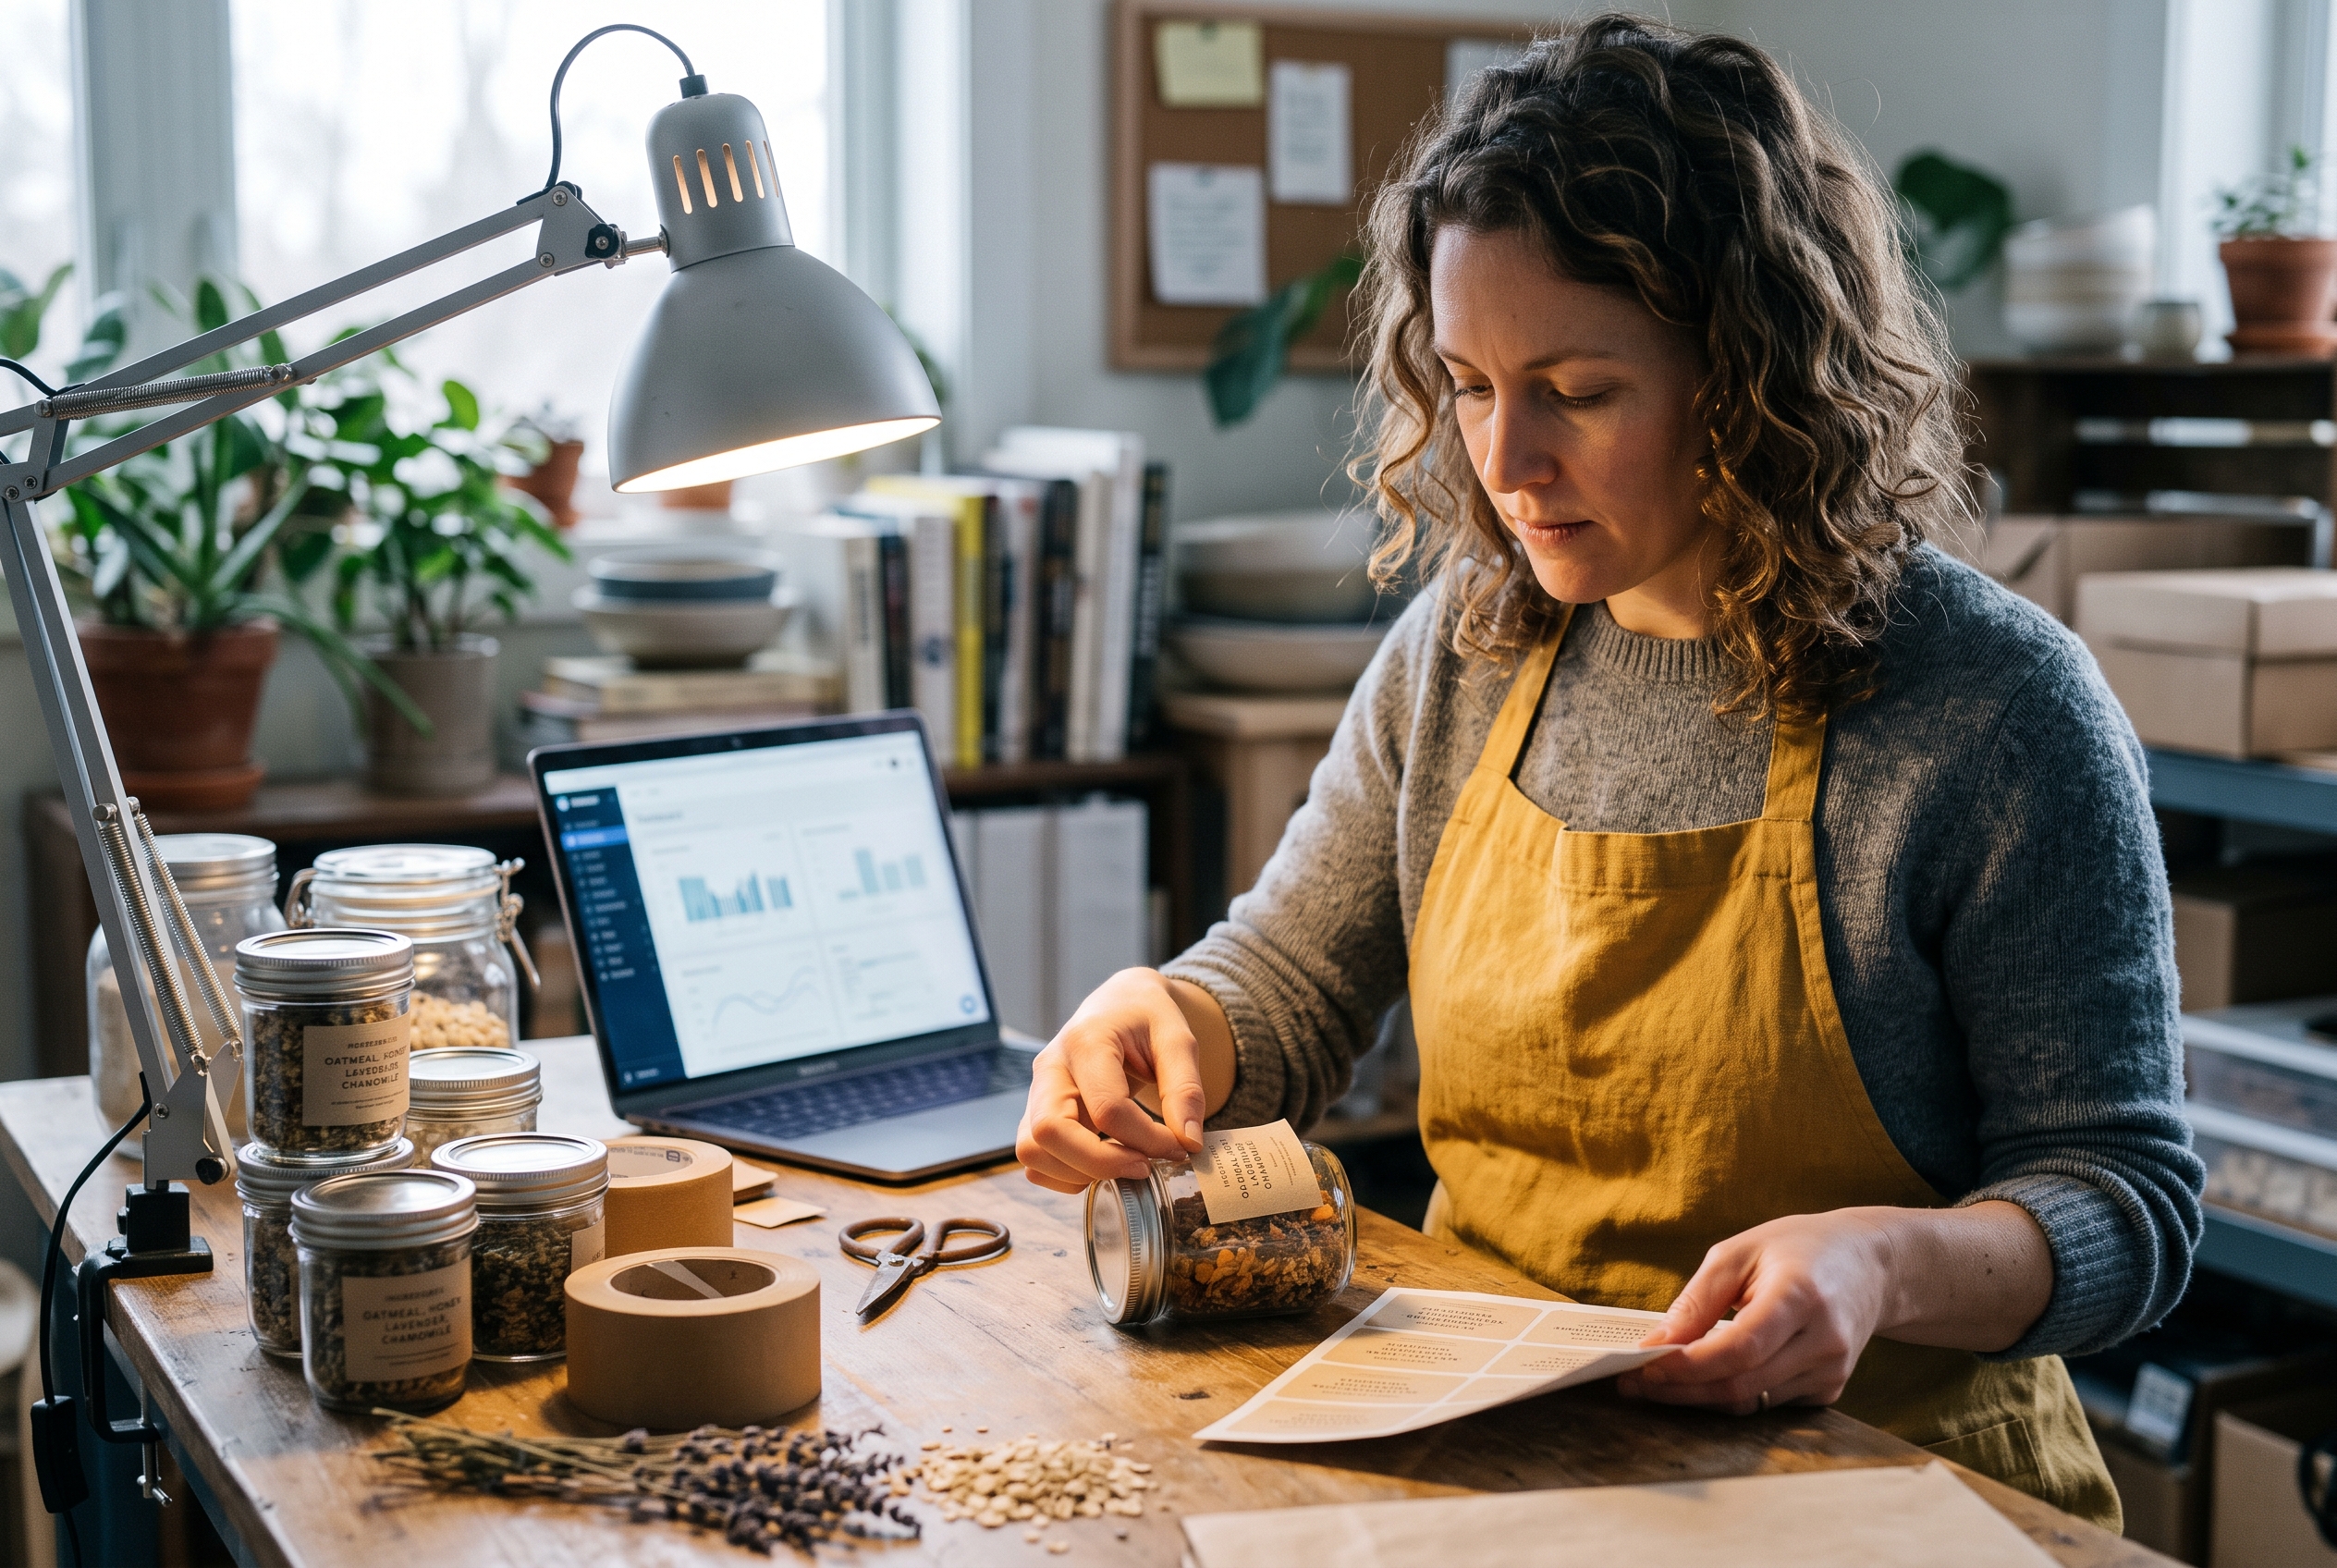
Labels aren't just branding — they're a legal document. Federal law requires specific information on packaged food, and getting allergen labeling right protects both your customers and your business from serious liability.
What every food label must include
At minimum, a compliant packaged-food label needs the product name, net weight, ingredient list in descending order by weight, your business name and address, and an allergen statement. Nutrition facts may be required depending on your revenue and whether you make nutrient claims.
Under the FDA's rules, the nine major allergens — milk, eggs, fish, shellfish, tree nuts, peanuts, wheat, soybeans, and sesame — must be clearly declared. If your product contains any of them, spell it out in plain language. Proper food allergen labeling on your online store means listing this information on the product page too, not just the physical jar, so customers can check before they buy.
Packaging for shelf life and shipping
Good packaging does three jobs: it keeps food safe, extends shelf life, and survives the trip. Vacuum sealing, tamper-evident seals, and food-grade containers are baseline. For anything with a limited shelf life, print a "best by" or "use by" date and note it on the listing.
The fastest way to lose a repeat customer is a crushed, leaking, or stale product on arrival. Test your packaging by shipping a box to yourself before you sell to anyone.
Shipping perishable food without disasters
Shipping perishable food is where many food businesses stumble. A jar of jam can sit in a warehouse for weeks, but fresh pasta, cheesecake, or seafood needs to arrive cold, fast, and intact. Master this and you unlock a huge market; ignore it and you'll drown in refunds.
Cold-chain basics
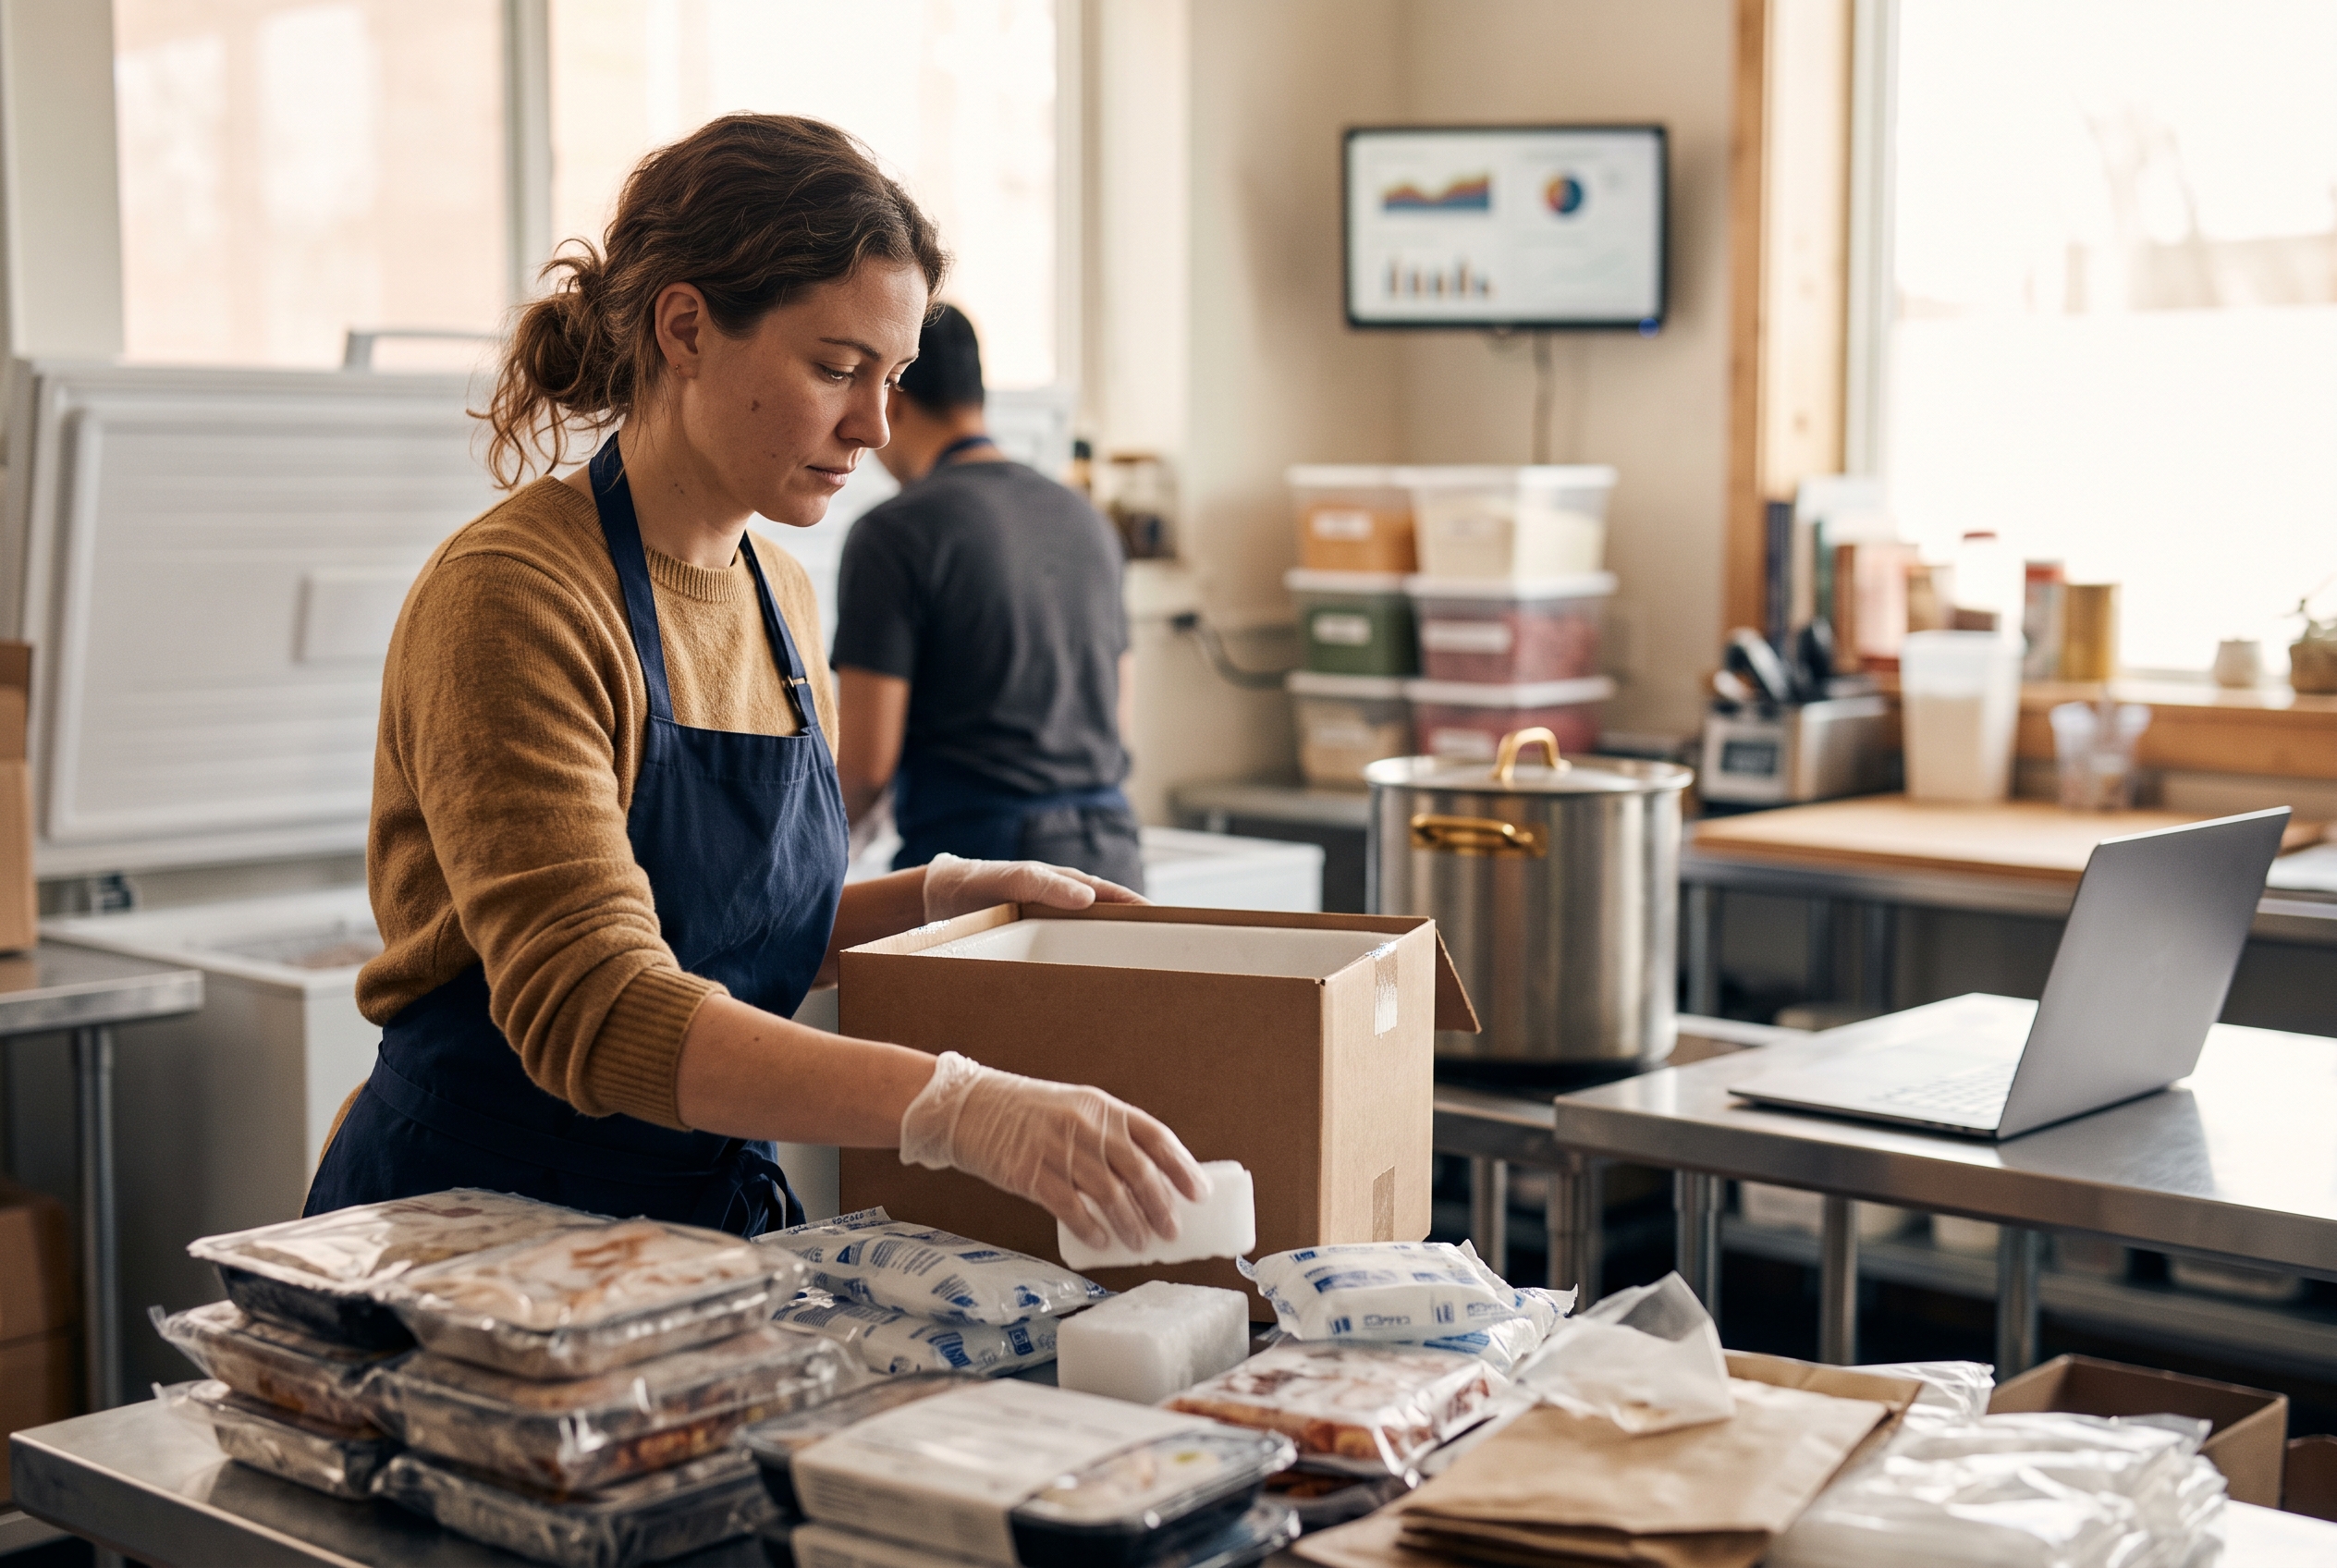
Keeping food at a safe temperature from your kitchen to the customer's door is called the cold chain. The core tools are simple:
- Insulated boxes or liners — foam, recycled denim, or wool for longer transit
- Gel packs — for refrigerated items that need to stay below 40°F
- Dry ice — for frozen items; requires special handling labels
- Expedited shipping — overnight or 2-day, never ground for perishables
Match your packaging to your transit time and the warmest climate your box might pass through. A box shipping through Arizona in July needs more coolant than one going across town. Most carriers, including USPS and UPS, publish guidelines for shipping perishables and dry ice.
Set shipping expectations up front
Be transparent about which days you ship. Many perishable sellers only ship Monday through Wednesday so orders don't sit in a facility over the weekend. State this clearly at checkout, offer order cutoff times, and build coolant costs into your pricing rather than eating them. Customers accept these rules when you explain the why.
Choosing where to sell food products online
You've handled the legal and logistics side. Now you need a storefront that takes orders, manages inventory, and doesn't cost a fortune to run. The platform you pick shapes your margins for years, so weigh it carefully.
Comparing your main options
Most food sellers choose between marketplaces, traditional platforms, and modern all-in-one builders. Here's how they stack up for a food business specifically:
| Option | Best for | Watch out for |
|---|---|---|
| Marketplaces (Etsy, Amazon) | Fast reach, low setup | High fees, no brand control, crowded |
| Shopify + apps | Flexibility if you add apps | Monthly cost climbs fast; abandoned cart, reviews, and subscriptions are paid add-ons |
| WooCommerce | Full control, low base cost | Plugin maintenance and security are on you |
| AI store builders | Complete store, one flat price | Newer category; check what's included |
For food specifically, a few features matter more than average: abandoned cart recovery (food is an impulse buy — a reminder converts), customer reviews and Q&A (people want reassurance about taste and ingredients), subscription options for repeat pantry staples, and clear product pages that display allergen and nutrition info. On a platform like Shopify, many of those are paid apps stacked on top of your base plan, which is how a $39 subscription quietly becomes $200 a month.
Why an all-in-one setup helps food sellers
Food margins are thin. Every dollar spent on plugins is a dollar off your profit. That's why more sellers are moving to platforms where the essentials come built in. Rovela builds a complete store from a plain-language conversation — you describe your food business, and it ships with a storefront, Stripe checkout, catalog, and over 100 features like abandoned cart, wishlist, reviews, and loyalty already included. No app stack, no plugin bills.
The practical upside: your product pages can carry allergen details, your checkout works day one, and your store stays fast even with every feature switched on. See what's covered on the pricing page before you commit to a stack that grows more expensive every month.
How to sell food online step by step
Ready to move from planning to selling? Here's the sequence most successful food sellers follow when they start an online food business, in the order that keeps you compliant and cash-flow positive.

- Validate your product. Sell at markets, to friends, or via pre-orders before investing. Confirm people pay full price and reorder.
- Sort the legal side. Confirm cottage food eligibility or line up a commercial kitchen. Register your business, get your permit, and buy liability insurance.
- Nail your labeling. Finalize ingredient lists, allergen statements, and dates. Make sure every listing mirrors the physical label.
- Test your packaging. Ship a box to yourself and a friend in a different climate. Fix leaks, breakage, and temperature issues before launch.
- Build your store. Choose a platform, add clear photos, honest descriptions, allergen info, and set shipping rules and cutoffs.
- Set pricing that survives. Cover ingredients, packaging, coolant, shipping, fees, and your time — then add margin. Don't underprice to compete.
- Launch to a warm audience. Email your market list, post to social, and offer a first-order incentive. Collect reviews from day one.
Growing beyond the first sales
Once orders are flowing, focus on repeat purchases — they're far cheaper than new customers. Subscriptions work well for consumables like coffee, sauces, or snacks. A loyalty program and abandoned-cart emails recover revenue you'd otherwise lose. And for anyone selling specialty food online — think small-batch hot sauce, artisan chocolate, or regional treats — leaning into your story and origin builds the kind of brand that commands premium prices.
Keep an eye on your reviews and answer customer questions quickly. Trust is the whole game in food. When someone's deciding whether to eat what you've made, a fast, honest answer about ingredients or sourcing can be the difference between a sale and a bounce.
Common mistakes when selling homemade food online
A few errors show up again and again. Avoid these and you're already ahead of most first-time sellers who want to sell homemade food online.
- Skipping the legal step — listing products before confirming permits invites fines and forced shutdowns.
- Underpricing — forgetting to factor coolant, boxes, and fees turns "sales" into losses.
- Vague allergen info — leaving allergens off the listing is both a liability and a lost-trust problem.
- Shipping perishables on Fridays — a weekend in a warehouse ruins food and your reputation.
- Overbuilding the store — spending weeks on a site instead of testing demand first.
Start small, get compliant, and let real orders guide what you build next. A food business grows one satisfied, repeat customer at a time.
Selling food online rewards the people who respect the details — the permits, the labels, the cold chain, and a storefront that makes buying easy. Get those right and you've got a business, not just a hobby. If you'd rather spend your time perfecting recipes than wrestling with plugins and app bills, Rovela can build your complete food store from a simple conversation, with the checkout, reviews, and cart-recovery tools food sellers actually need already included. Browse the blog for more guides, or start describing your store and see it built in hours.