June 21, 2026
How to Create a Size Chart for Clothing (Step by Step)
Learn how to create a size chart for clothing that fits real bodies, cuts returns, and converts more shoppers — with measurement steps and a free template.

Almost a third of all clothing bought online gets sent back, and the number one reason is fit. Shoppers order two sizes, keep one, and ship the rest home on your dime. Knowing how to create a size chart for clothing is the cheapest, fastest way to stop that bleed — no new product, no ad spend, just a clear table that tells people what will actually fit before they hit buy. This guide walks you through measuring garments, building the chart, converting between regions, and publishing it so it actually gets read.

Why a clothing size chart matters for your online store
When someone shops in a store, they try the garment on. Online, your size chart is the only fitting room they get. A vague "S / M / L" with no numbers forces shoppers to guess — and guessing means returns.
The math is brutal. Apparel return rates run between 20% and 40%, and the leading cause is sizing and fit, according to retail analysts at the National Retail Federation. Every returned item costs you the original shipping, the return shipping, restocking labor, and often a resale at markdown.
A precise clothing size chart for your online store does three things at once:
- Cuts returns. Clear measurements help shoppers pick right the first time, which directly reduces clothing returns from sizing errors.
- Builds trust. Specific numbers signal that you know your product and stand behind the fit.
- Lifts conversion. Confident buyers complete checkout instead of bouncing to "I'll think about it."
Think of the chart less as a compliance afterthought and more as a sales tool. A good fit guide for your online clothing store earns its place right next to the price.
How to measure clothes for selling online
Before you can build a chart, you need real numbers. There are two ways to measure, and the best stores publish both: body measurements (the shopper's actual body) and garment measurements (the flat dimensions of the product). Body measurements help people place themselves; garment measurements remove all ambiguity about the item itself.
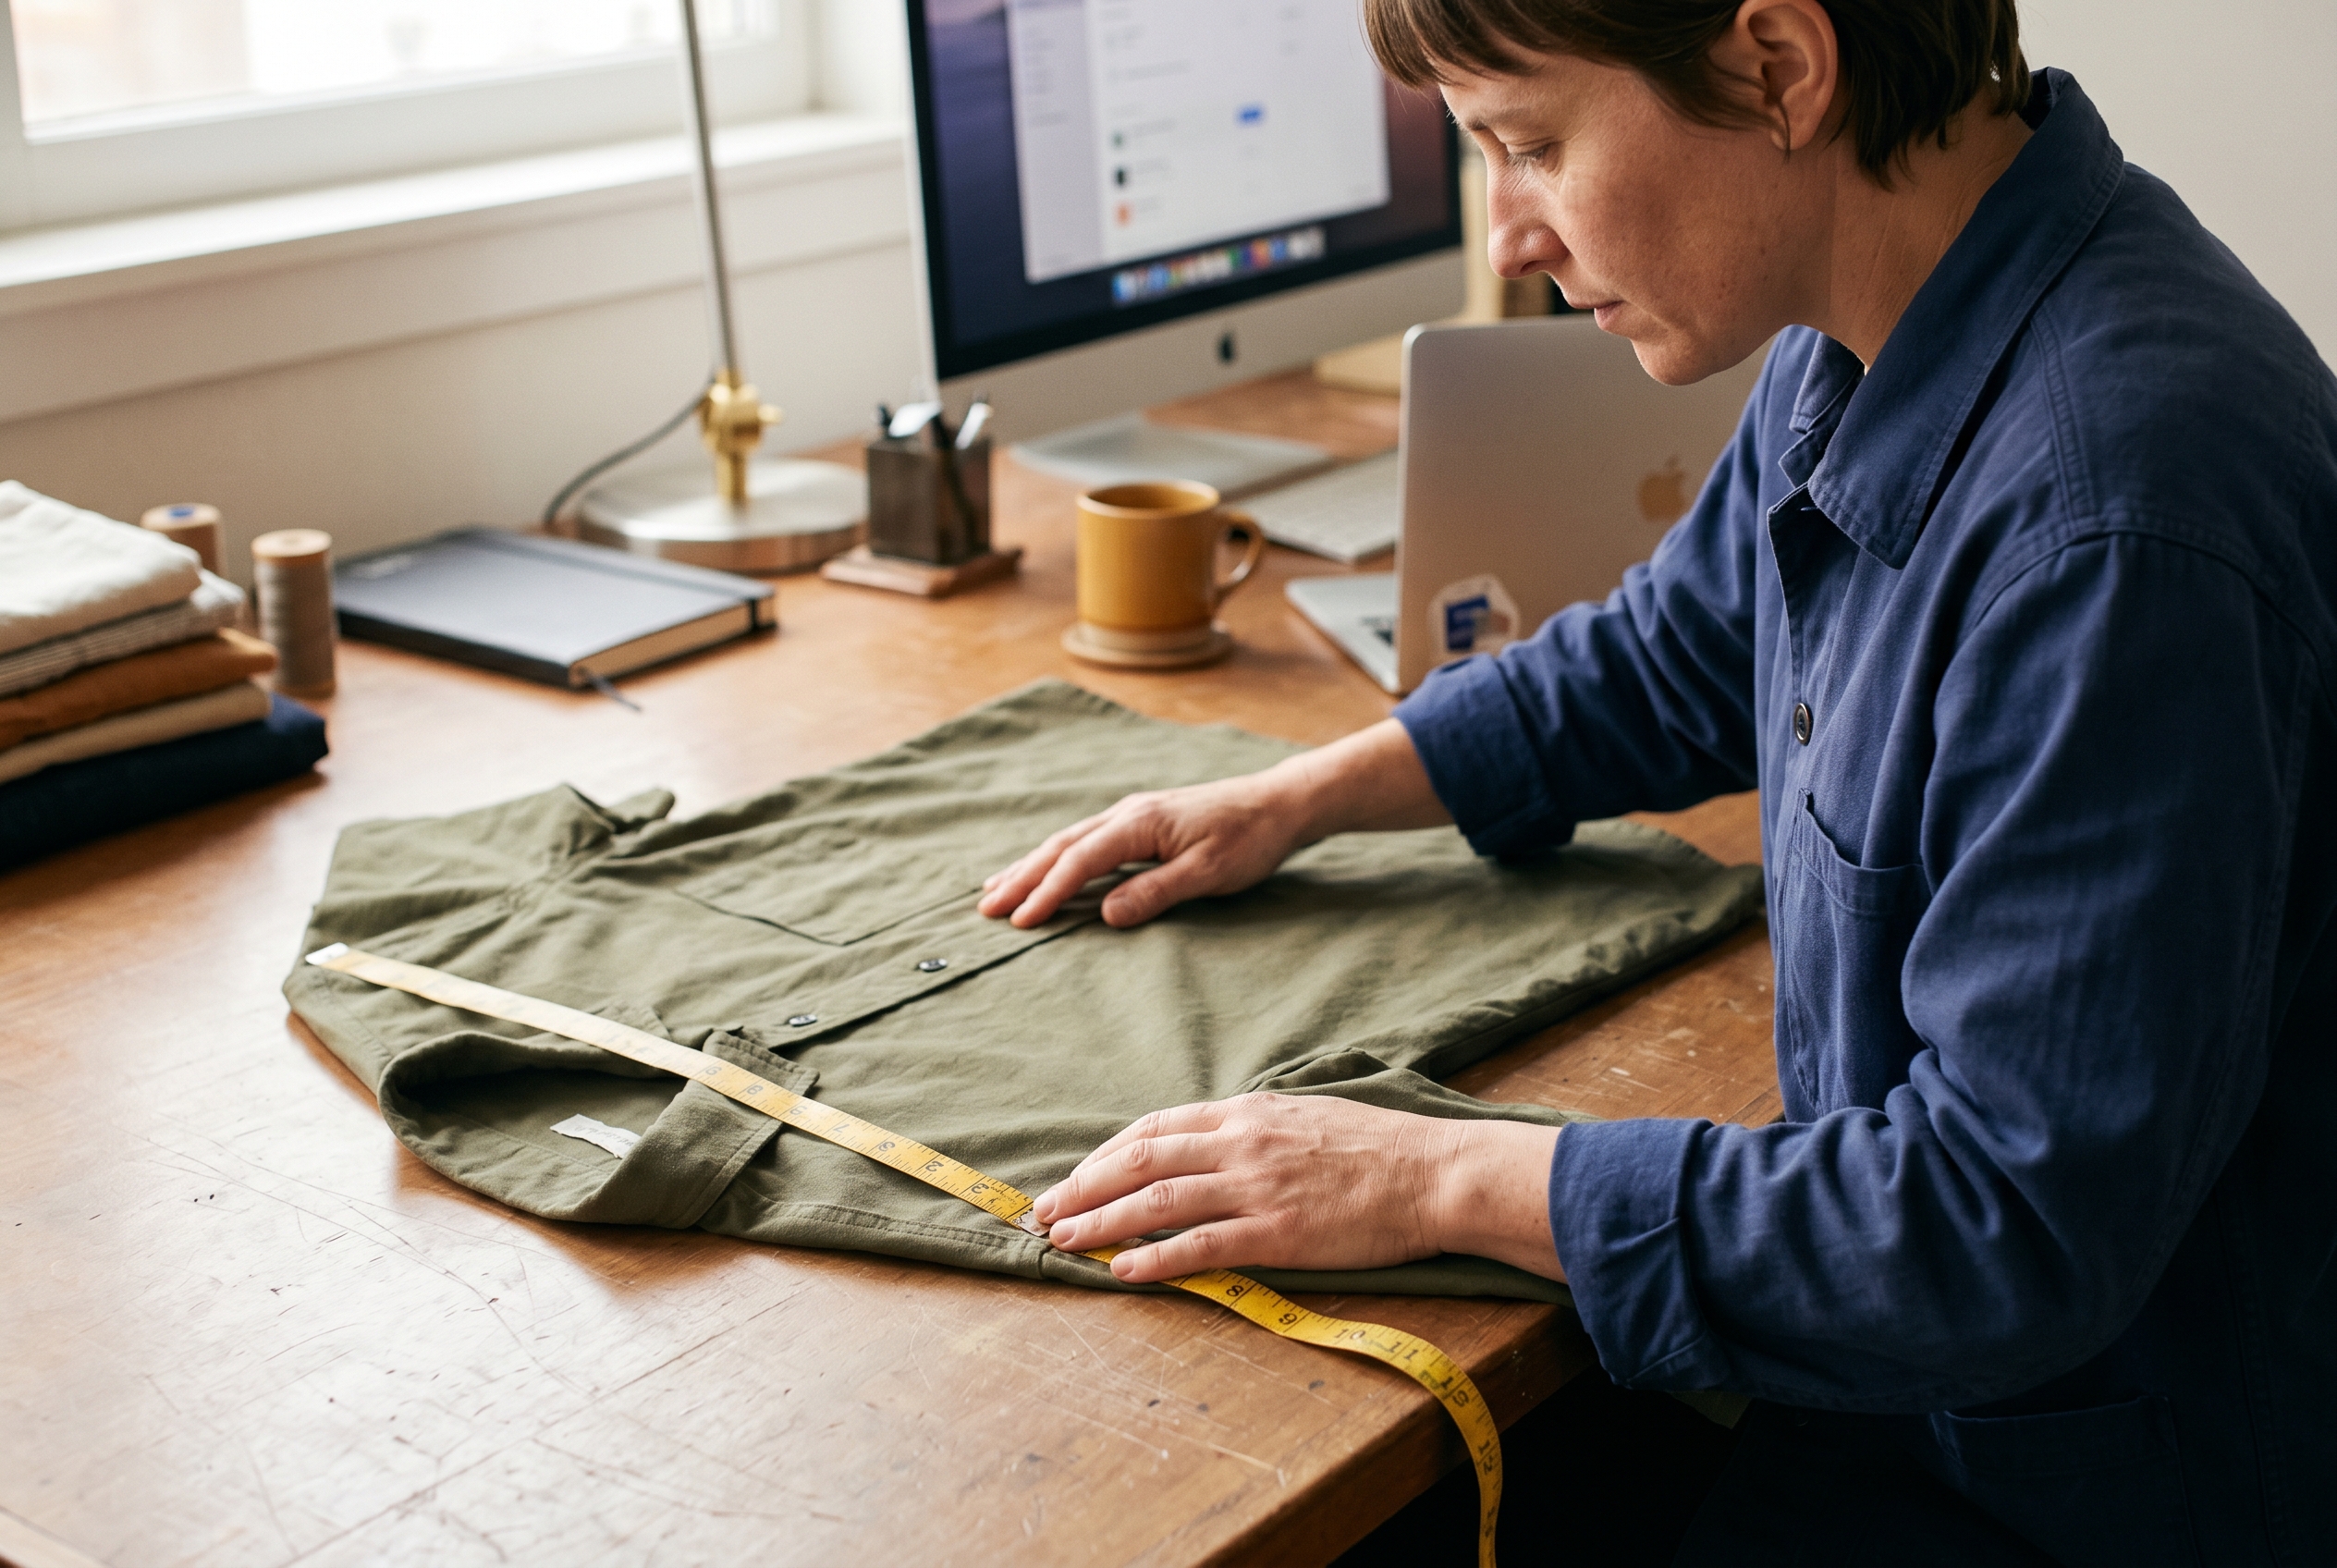
Garment measurement guide: lay it flat
To learn how to measure clothes for selling online, work from a clean, flat surface. Press out wrinkles first — a bunched seam can throw a reading off by half an inch. Measure one sample of each size, then spot-check a second unit to catch manufacturing variance.
- Chest / bust: Measure across the garment one inch below the armhole, seam to seam, then double it for full circumference.
- Waist: Find the narrowest point, measure straight across, and double it.
- Length: Measure from the highest point of the shoulder straight down to the hem.
- Sleeve: Measure from the shoulder seam to the cuff (or center back to cuff for raglan styles).
- Hip / sweep: Measure across the widest point of the lower body, then double it.
- Inseam (bottoms): Measure from the crotch seam to the bottom of the leg.
Always note whether your numbers are flat (the single measured width) or circumference (doubled). Mixing the two is the most common error in a garment measurement guide, and it confuses shoppers instantly.
Body measurements for the fit-conscious shopper
Body measurements let people self-select. Tell shoppers to measure over light clothing, keep the tape snug but not tight, and stay level to the floor. Cover bust, natural waist, hips, and inseam at minimum. For a deeper reference on landmark points, the clothing sizes overview on Wikipedia is a solid starting point.
How to create a size chart for clothing: a step-by-step build
Now you've got numbers. Here's how to create a size chart for clothing that's clean, accurate, and easy to publish. Follow these steps in order.

- List your size range. Decide the sizes you stock — for example XS through 2XL — and put them down the left column.
- Choose your measurement points. Pick the dimensions that matter for the garment. A tee needs chest and length; jeans need waist, hip, and inseam.
- Enter the numbers. Fill each cell with the value you measured. Be consistent: same unit, same flat-vs-circumference choice across the whole table.
- Add tolerance, not false precision. Garments vary by roughly ±0.5 inch. Round sensibly rather than printing 17.375".
- Show both inches and centimeters. International shoppers expect metric; domestic ones expect imperial. Give both.
- Label the chart type. State clearly whether it's "body measurements" or "garment measurements." Never make people guess.
Here's a simple size chart template for ecommerce you can copy for a unisex t-shirt and adapt for any garment:
| Size | Chest (in) | Length (in) | Sleeve (in) | Chest (cm) |
|---|---|---|---|---|
| XS | 34–36 | 27 | 8 | 86–91 |
| S | 36–38 | 28 | 8.5 | 91–96 |
| M | 38–40 | 29 | 9 | 96–101 |
| L | 40–42 | 30 | 9.5 | 101–106 |
| XL | 42–45 | 31 | 10 | 106–114 |
| 2XL | 45–48 | 32 | 10.5 | 114–122 |
Keep one master spreadsheet per garment type. When you add a new colorway in the same cut, the chart is already done. When you launch a new silhouette, measure fresh — never assume one style's numbers carry over.
Building a US UK EU size conversion chart
Sell across borders and you'll trip over the same wall every merchant hits: a US 8 is a UK 12 is an EU 40. If your apparel size guide only speaks one region's language, half your global shoppers bounce. A clear US UK EU size conversion chart fixes that.

Here's a women's-tops reference you can adapt. Conventions vary slightly by brand, so treat these as a starting grid and verify against your own garment measurements:
| Generic | US | UK | EU |
|---|---|---|---|
| XS | 2 | 6 | 34 |
| S | 4–6 | 8–10 | 36–38 |
| M | 8–10 | 12–14 | 40–42 |
| L | 12–14 | 16–18 | 44–46 |
| XL | 16 | 20 | 48 |
The safest approach: lead with actual measurements in inches and centimeters, and treat the region-letter conversion as a convenience layer on top. Numbers don't lie, but "size 8" means three different things in three countries. For sizing standards background, the International Organization for Standardization publishes the ISO body-dimension references many brands reference.
Where and how to publish your apparel size guide
A perfect chart hidden in a footer link does nothing. Placement decides whether it actually gets used. The goal is to surface the fit guide for your online clothing store at the exact moment a shopper hesitates over which size to pick.

Follow these placement rules:
- Put a "Size Guide" link directly beside the size selector on every product page — not buried under specs.
- Open it as a popup or slide-out, so shoppers never leave the page or lose their cart.
- Make it mobile-first. Most apparel browsing happens on phones, and a wide table that requires pinch-zooming gets ignored.
- Add a short fit note like "Runs slightly small — size up if between sizes." That single sentence prevents a huge share of returns.
- Include garment-specific charts. Don't reuse one generic table for tees, denim, and outerwear — each cut fits differently.
Adding photos of the garment on different body types alongside the numbers boosts confidence even further. When shoppers can see and measure, guesswork disappears and your return rate drops with it.
The good news: you don't need a developer to do any of this well. Some store platforms include product pages, fit guides, and a clean size chart template for ecommerce as standard features rather than paid add-ons. Rovela builds complete clothing stores from a plain-language description, with product pages, customer Q&A, and reviews included by default — so your sizing content lives where shoppers actually look without you stitching together plugins. You can see what's bundled on the pricing page.
Common size chart mistakes that cost you sales
Even careful merchants make avoidable errors. Watch for these:
- Mixing flat and circumference values in the same table — pick one and label it.
- Copying a supplier's generic chart without measuring your actual stock. Factory specs drift.
- Listing only letter sizes with no measurements — this is the fastest way to guarantee returns.
- Forgetting metric units and losing international buyers.
- Never updating the chart when you switch manufacturers or change a pattern.
Audit your charts every time inventory changes. A five-minute re-measure beats a wave of "doesn't fit" emails. For more practical playbooks on running and growing a clothing brand online, browse the Rovela blog.
Turn accurate sizing into fewer returns and more sales
A great size chart isn't fussy detail work — it's one of the highest-leverage pages on your store. Measure your garments flat, build a clean table with both imperial and metric units, layer in a US UK EU size conversion chart for global buyers, and place the guide right next to the size selector where it's needed. Do that and you'll reduce clothing returns from sizing while turning hesitant browsers into confident buyers.
If you'd rather skip the plugin assembly and launch a clothing store with product pages, fit guides, reviews, and customer Q&A already built in, Rovela creates the whole store from a conversation — so your sizing content, catalog, and checkout all work together from day one. Describe your brand, and start selling with fit guidance that actually fits.
